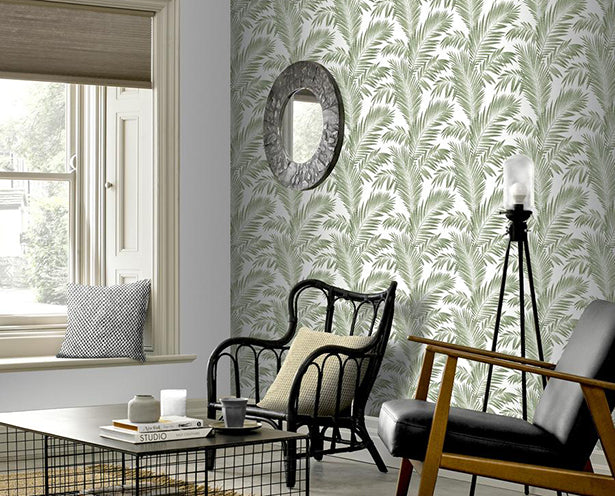
How to Hang ArtiSTICK Peel and Stick Wallpaper
ArtiSTICK is Athouse’s own range of Peel and Stick, self-adhesive wallpaper that is quick and easy to use with no need for paste. Not just a wallpaper, it has several uses, from decorating walls, covering art & craft projects to DIY and upcycling furniture. Here is our step by step guide on how to hang ArtiSTICK, you can also watch our Hoe to video here.
Before you start you will need to:
- Check that all pattern numbers and batch numbers are the same. If you order online we will make sure you are sent the same pattern and batch number for all rolls bought together.
- Check all rolls are free from damage and defects.
- Acclimatise the rolls for 48 hours before hanging.
We would suggest using the following equipment for hanging Atistick on walls or ceilings:
- Step ladder
- Tape measure
- Spirit level (or plumb line)
- Pencil
- Straight edge
- Retractable knife (with a sharp blade)
- Plastic smoothing blade
Preparation
Ensure that are surfaces are free from dirt, dust, old wallpaper, loose paint, grease etc. as they will affect adhesion. We would always advise the best way to prepare is to vacuum the wall to remove dust and any loose material followed by an application of sugar soap or mild soapy water to ensure no grease is present. Allow to fully dry before hanging this product.
Surfaces should be matt, fiat, firm, smooth and a pale uniform colour. NOTE: Surfaces with a sheen e.g. vinyl silk, eggshell, satin, gloss etc., should be lightly sanded to provide a 'key' for adhesion. Wash sanded surfaces with sugar soap and leave to dry before hanging this product.
Bare plaster walls should be primed, sealed, and allowed to dry fully before hanging Atistick.
Do not hang Atistick on unpainted, bare plaster, brick, breeze block, textured surfaces, old wallpaper, expanded polystyrene, walls with a history of damp, outdoor surfaces.
Avoid getting any dust on the adhesive surface as this will compromise the adhesion of the product.
Hanging
Using a spirit level (or plumb line), draw a vertical line with a pencil 20 inches from the left-hand side of your wall. Start from the centre if you are doing a feature wall to ensure symmetry.
You should apply the first strip to the right of your vertical pencil line. Carefully peel away 12 inches of the backing paper. Apply the adhesive surface to the top of the wall, allowing one inch to overlap onto the ceiling.
Work from the top to the bottom, peel away 16 inches - 20 inches at a time and align the right-hand edge to the pencil line. Remove the length and reposition if necessary to achieve a vertical edge. Do not over stretch the material as this may cause shrinkage.
Use a plastic smoothing blade to move any air bubbles from the centre top the outer edges. Also, use the plastic smoothing blade all over the surface to ensure the strip is fully adhered to the wall.
Use a good pair of scissors or a sharp retractable knife and a straight edge to trim the top, bottom, and corner (if appropriate) of the wall. Use the plastic blade to smooth any trimmed edges.
Apply the next strip in the same way. Pattern match the left-hand edge of the second strip lo the right-hand edge of the first strip.
Always switch off power at mains when hanging around sockets and switches.
Avoid contact between the adhesive side and the decorative side, as this may cause damage to the decorative surface when you try to peel them apart.
Removal
Slowly peel away from a top corner downwards. It is not unusual for some of the painted surface underneath to come off when removing this product. Removal may be more difficult in areas close to a heat source e.g. radiators, because heat may cause the adhesive to cure.
Occasionally some residue may be left on removal, we recommend using a flat scraper and a steam wallpaper stripper if any residue proves difficult to remove
Cleaning
Sponge clean only with clean water. Excessive water may affect adhesion. Do not use any cleaning fluid, soap, or detergents.
Additional Information
Any air bubbles that may appear under the surface can be pierced with a straight pin or needle and flattened with a plastic smoothing blade to expel the air.
CAUTION: Please dispose of the Silica Gel pack inside the core safely. Keep away from babies, children, and pets.
IMPORTANT: Acclimatise the roll at room temperature for 48 hours prior to hanging at a room temperature no less than 15°C (59°C). Application room temperature 15°C - 40°C (59°F - 104°F).
Do not store below 15°C (59°F).
We make every effort to ensure our products are perfect but variation in manufacturing and printing can sometimes occur.
