Transforming Your Furniture With Wallpaper
Your step-by-step guide to upcycling.
Increasingly, people are focusing on how they can live a more environmentally friendly lifestyle – reusing and recycling products rather than always buying new. But this doesn’t mean that we have to resign ourselves to filling our homes with mismatching furniture, brought back to life with a quick sand and wax.
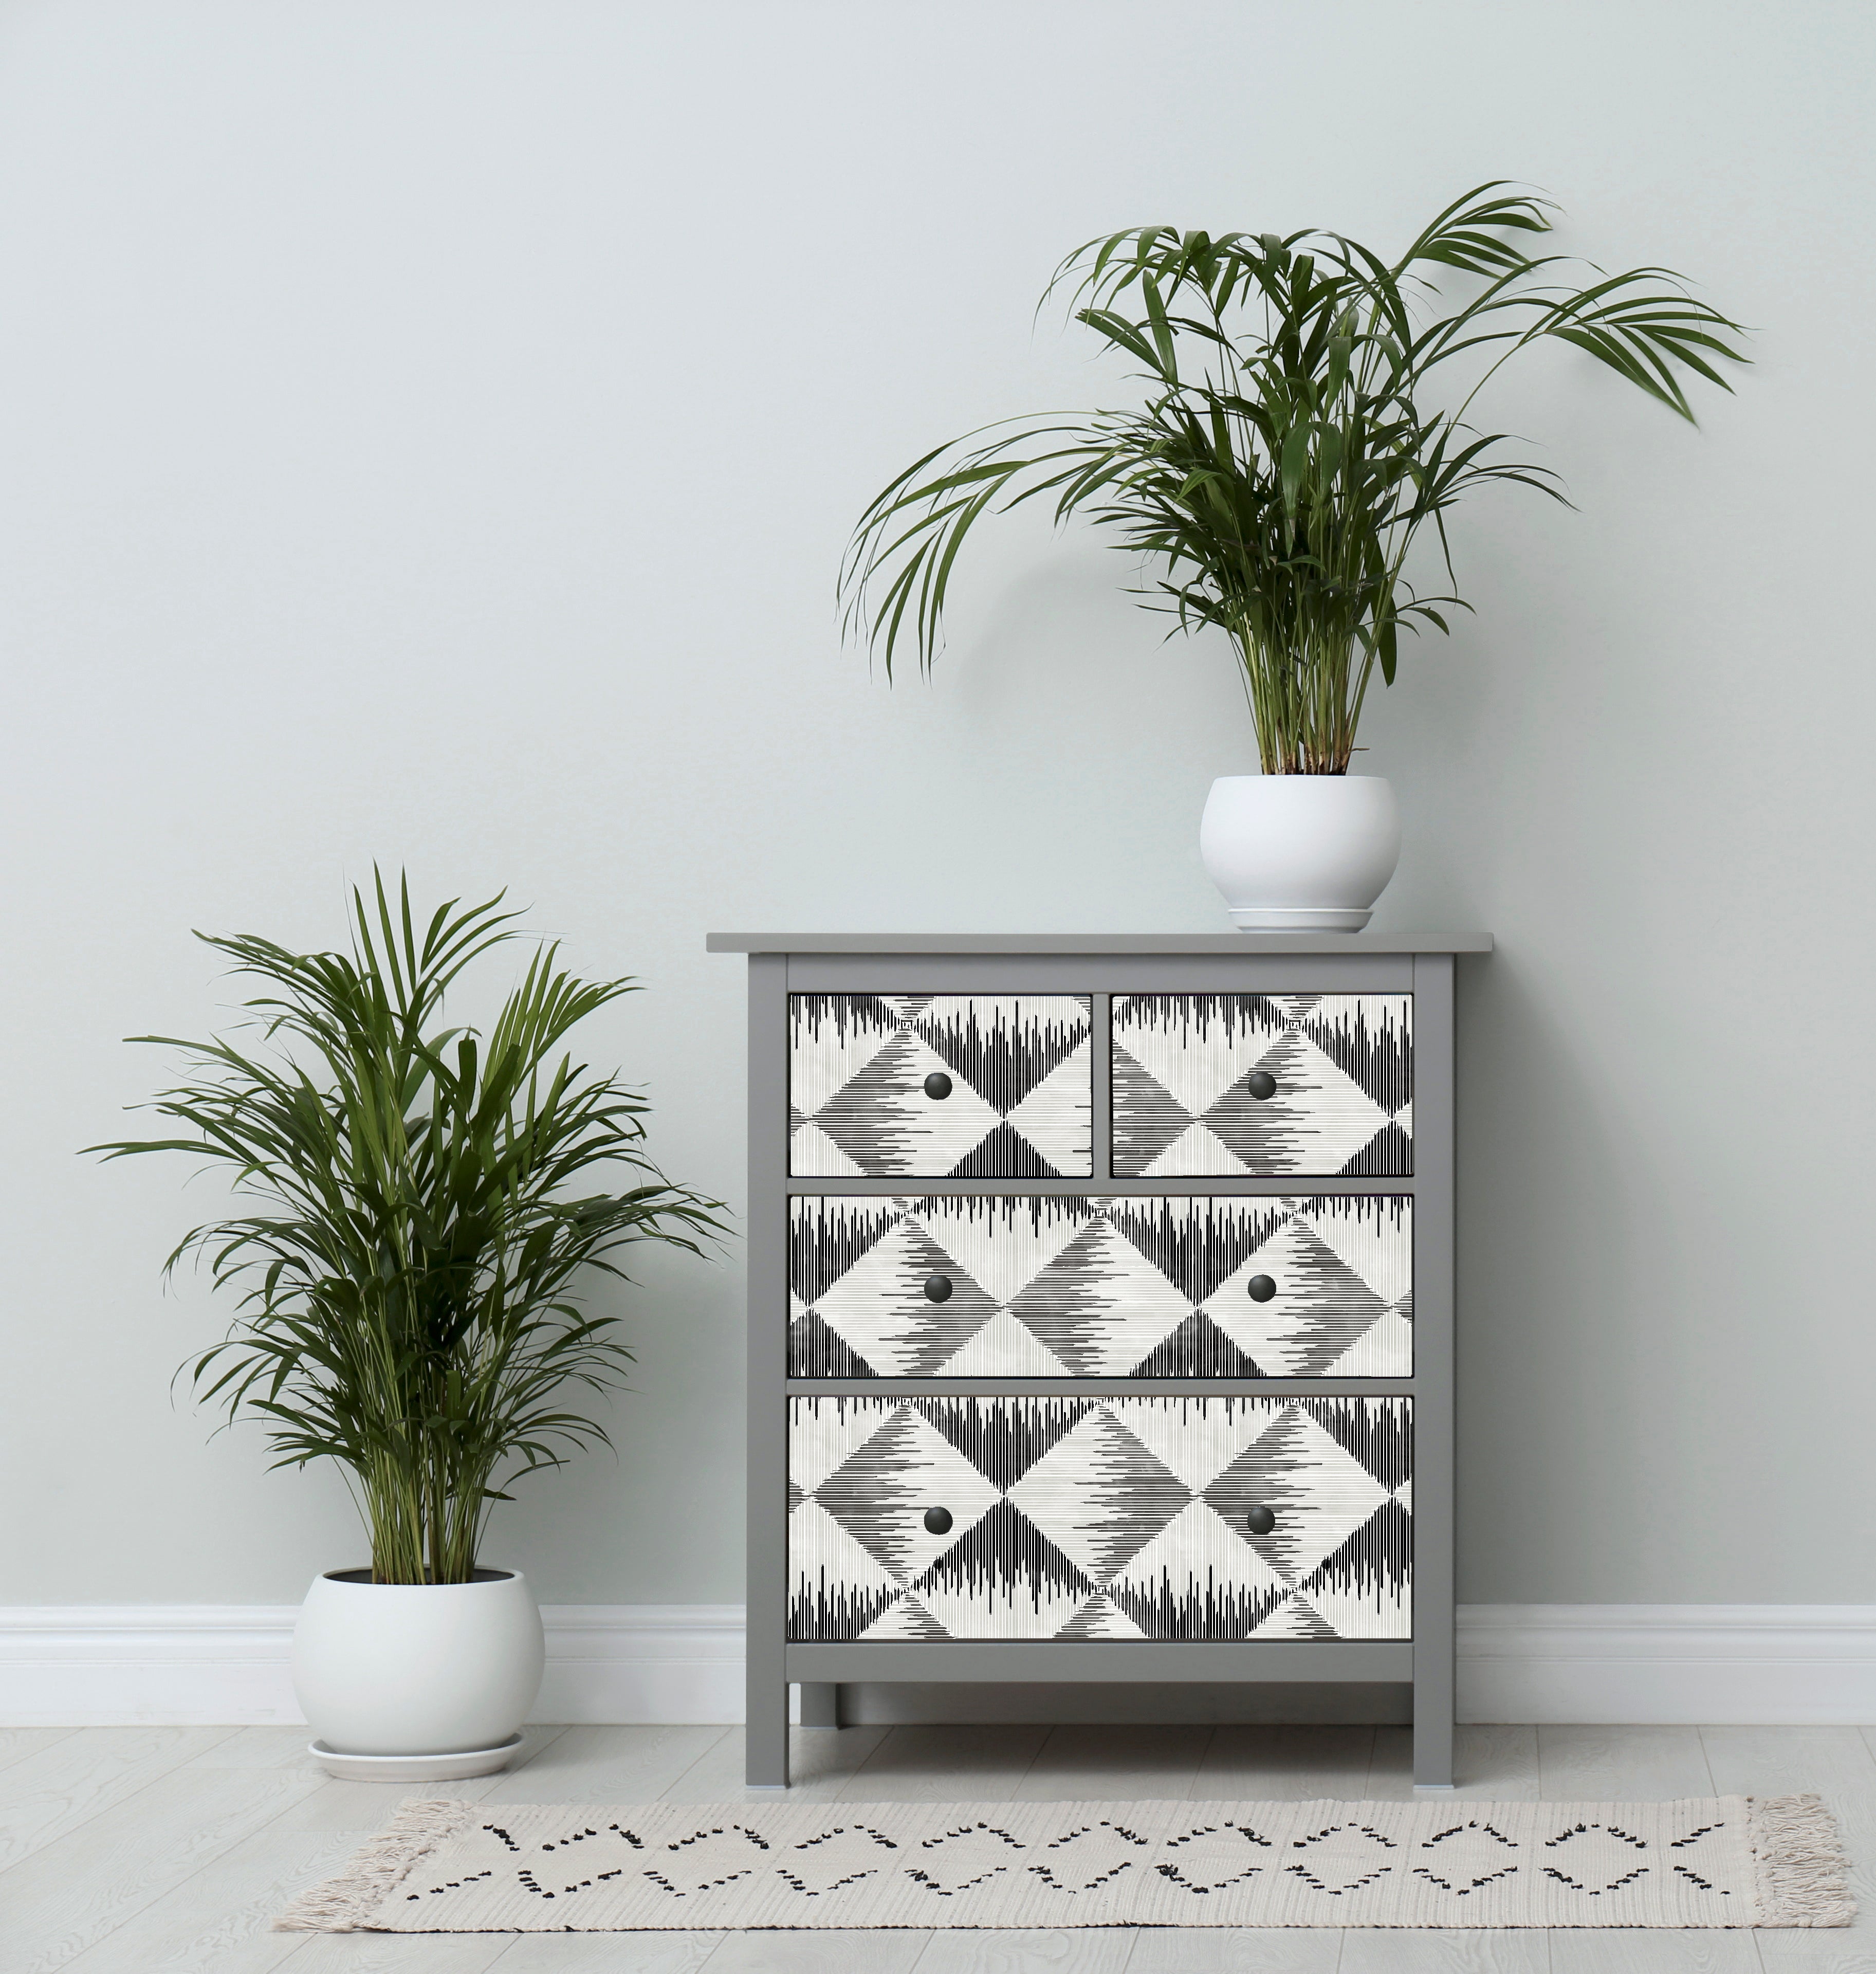
Upcycling is a great way to use creativity to transform unwanted items – whether these are old or modern – into pieces that we can be proud of. And that’s where wallpaper comes in. It can add a splash of color or a brand new look to a piece of furniture, to achieve the exact look you want – whether that’s traditional or timeless, chic or child-friendly, or bang on-trend.

Why not follow this step-by-step guide to create your own upcycling project?
1 ) We decided to put upcycling to the test with a pine veneer bookcase, that was beginning to look tired and no longer worked with other pieces in the room.
2) First of all, sand all surfaces and fill any dents and scratches. Remove all traces of dust – but do make sure you use a dust mask for protection.

3) Remove the back of the bookcase – there may be nails or panel pins holding it in place
4) Apply coat of primer to the whole bookshelf – this product can be found all DIY shops.

5) Apply a second coat of primer so the satin paint has the best possible chance of covering the wood finish.
6) Apply coat of satin paint in the colour of your choice. When this first coat is dry, apply a second coat if it looks patchy

7) Choose a wallpaper that complements your interior scheme.
8 ) Use a high tack glue spray or double sided tape to stick the wallpaper to the back of bookshelf. The adhesive you use will depend on the thickness of the wallpaper you’ve chosen.

9) Nail the back of the bookshelf back in place
10 ) And that’s how easy it is! Position the piece of furniture in your chosen room and enjoy its fresh new look.

If you fancy having a go at a project like this you will need:
- Bookshelf
- Electric sander / sandpaper (various grits)
- Dust Mask
- Cleaning cloth
- Paintbrushes
- Primer
- Satin paint
- Double-sided tape / glue spray
- Wallpaper
- Hammer
- Nails
